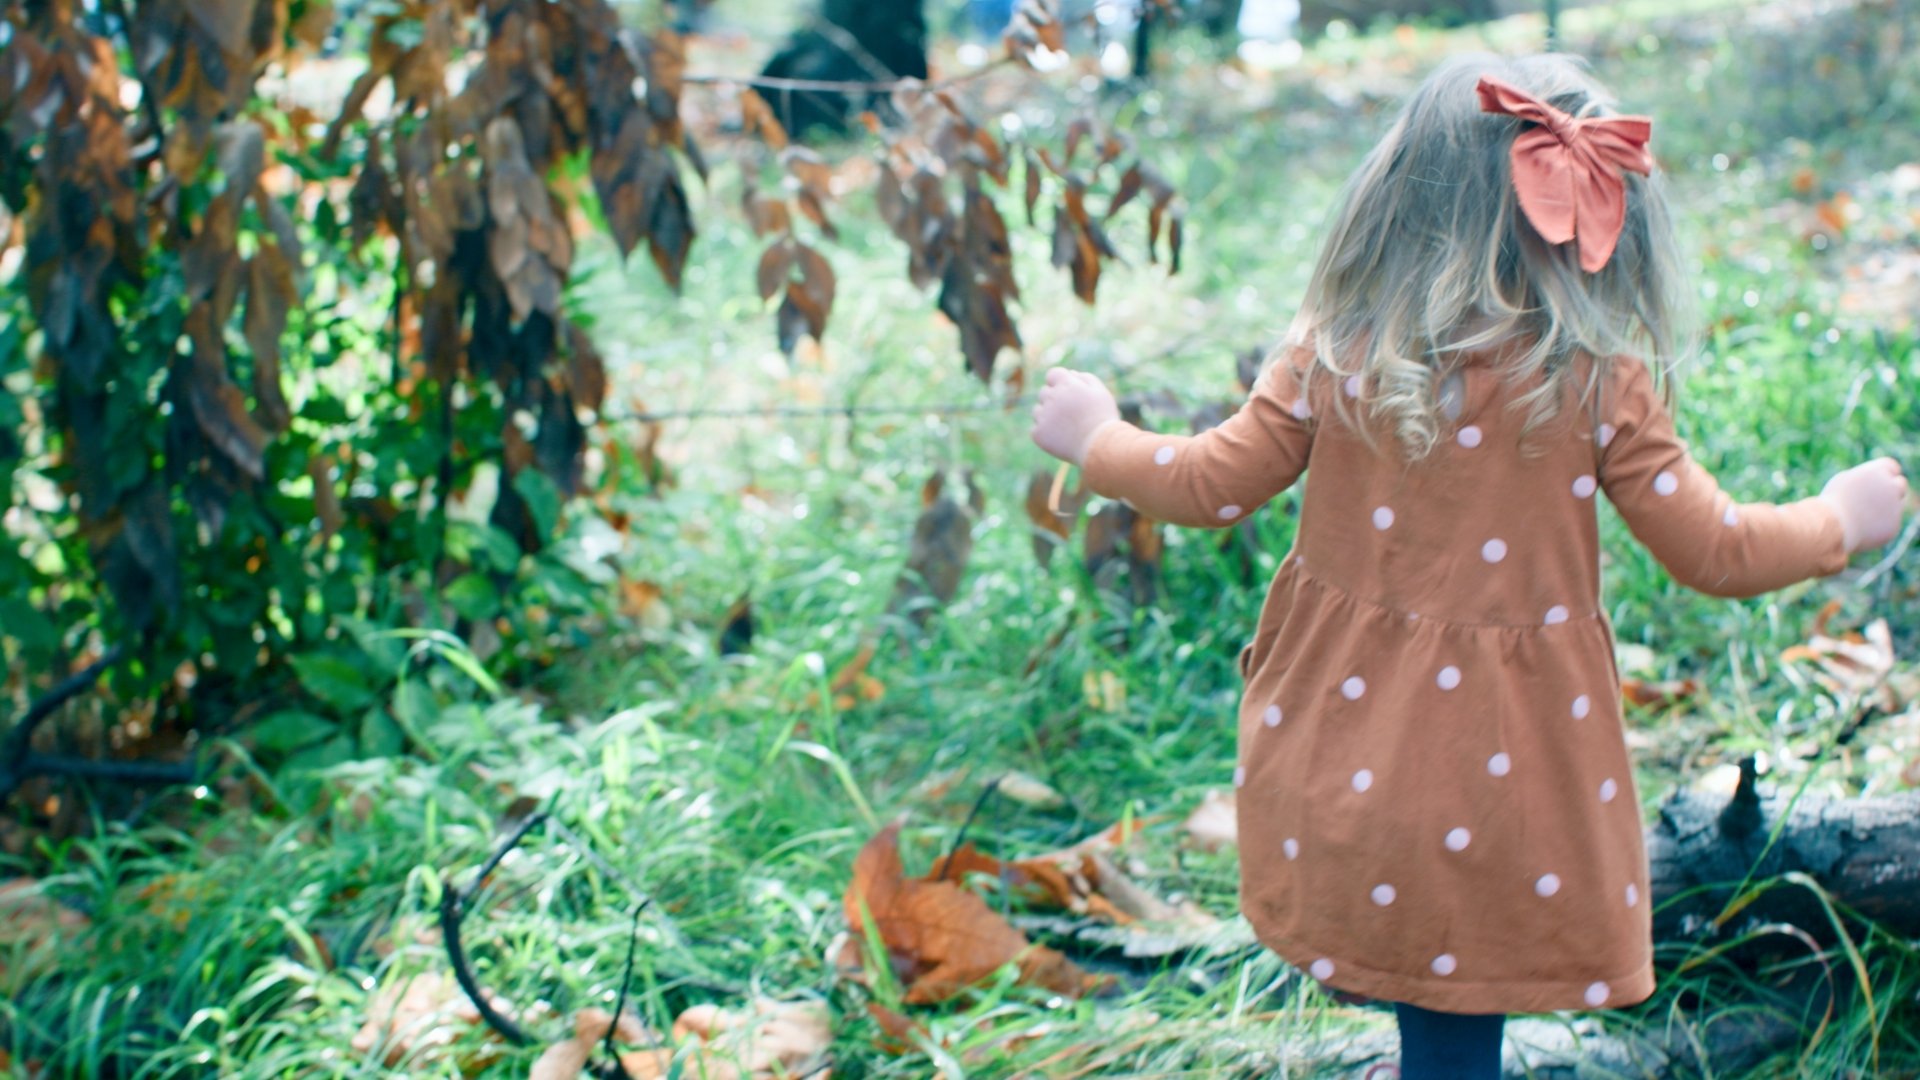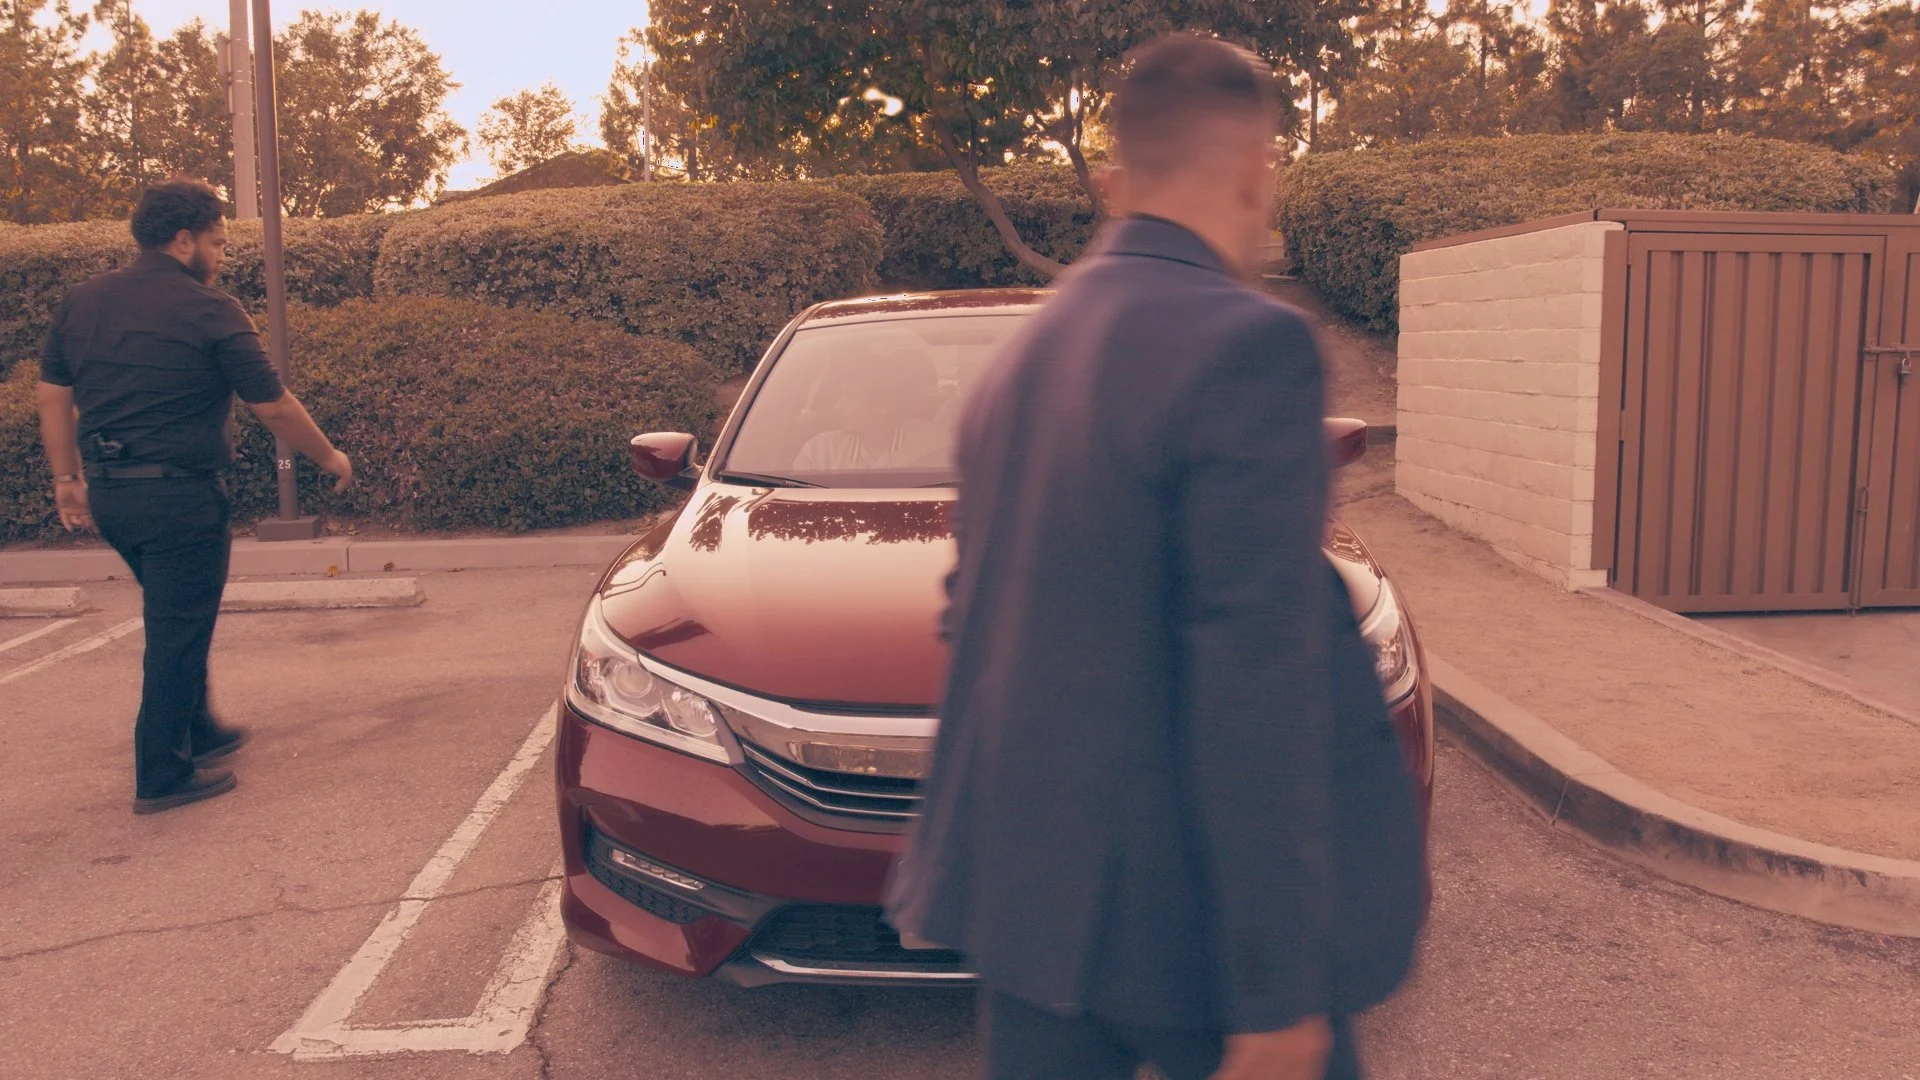
Whatever it is, The COLOR of your story can make All The Difference.
First time working with a Colorist?
It can be scary trusting your project to a stranger… But this can be one of the strongest collaborative partnerships that shapes the final look of your project.
In this guide, we’ll cover a couple topics.
When should I hire a colorist?
Why Should I hire a Colorist?
Is it too expensive?
How does the process normally go?
When Should I Hire A Colorist?
The ideal time to bring a colorist on board? Preproduction, hands down! Once you’ve got a budget in mind and a vision taking shape, a colorist can help craft *Show LUTs* that align with your creative direction. This means your DP can light the set with confidence, knowing exactly how the final look will come together.
Plus, for VFX artists, having a proper viewing LUT ensures that inserted assets blend seamlessly.
It’s all about setting up your footage for success—making the post-production process smoother, faster, and a whole lot more fun!
Why Should I Hire A Colorist?
No matter the size of your production, a colorist brings far more to the table than just a LUT you found online. While a LUT is a one-size-fits-all tool, a colorist tailors the grade to your specific footage, ensuring every shot flows seamlessly and enhances your story.
From fine-tuning skin tones to balancing tricky lighting conditions, it’s about crafting a polished, intentional look—not just slapping on a preset. Great color elevates your project, making it feel cohesive, cinematic, and uniquely yours.
Is it too expensive?
My goal is always to deliver the absolute best final visuals possible with my skill set. That’s why instead of rigid day rates, I prefer a value-based, project-focused approach—one that aligns with your budget and long-term goals.
My aim? To help you fully realize your vision. For a bit of price guidance, on projects with budgets under $100K, a professional colorist typically bids around 7-15% of that, tailoring services to ensure you get the most impact for your investment. It’s all about making every frame count!
Let's keep it simple and streamlined! Here’s a step-by-step breakdown of the process in the usual order. Depending on when I’m brought on or the scope of services, some steps may not apply. Scheduled live sessions typically happen during steps 7-9.
1. Initial Consultation
A quick phone or Zoom meeting to discuss the project, followed by a call to go over pricing options.
2. Pre-Production Look Design
Collaboration with the director and DP to establish a creative direction that everyone is aligned on.
3. Production “Weeklies”
Pulling select dailies to create test grades, and providing on-set feedback to fine-tune the look as filming progresses.
4. Post-Production Prep
Waiting for the edit to lock while providing viewing LUTs for editors and VFX artists to ensure consistency.
5. Asset Turnover
Time to send the project my way! I have a full guide on prepping materials for color—check it out here. Download The PDF Version
6. Hero Work
I start by grading key shots to establish the final look, which are then sent for approval.
7. First Pass (Live Sessions Available)
Once the hero shots are approved, I apply that look across all shots, making adjustments for consistency. A first-pass render is sent for review.
8. Sweetening Pass (Live Sessions Available)
If we’re headed in the right direction, I refine the grade further—polishing shots and adding that extra panache before another review cycle.
9. Final Polish (Live Sessions Available)
A final pass addresses any remaining notes, and the updated render is sent for final approval.
10. Delivery & Hand-Off
If all is approved (or only minor tweaks remain), the project is prepped to delivery specs and handed off to the online editor for final conforming with graphics and audio.
That’s it—clean, efficient, and tailored to make your project shine!


